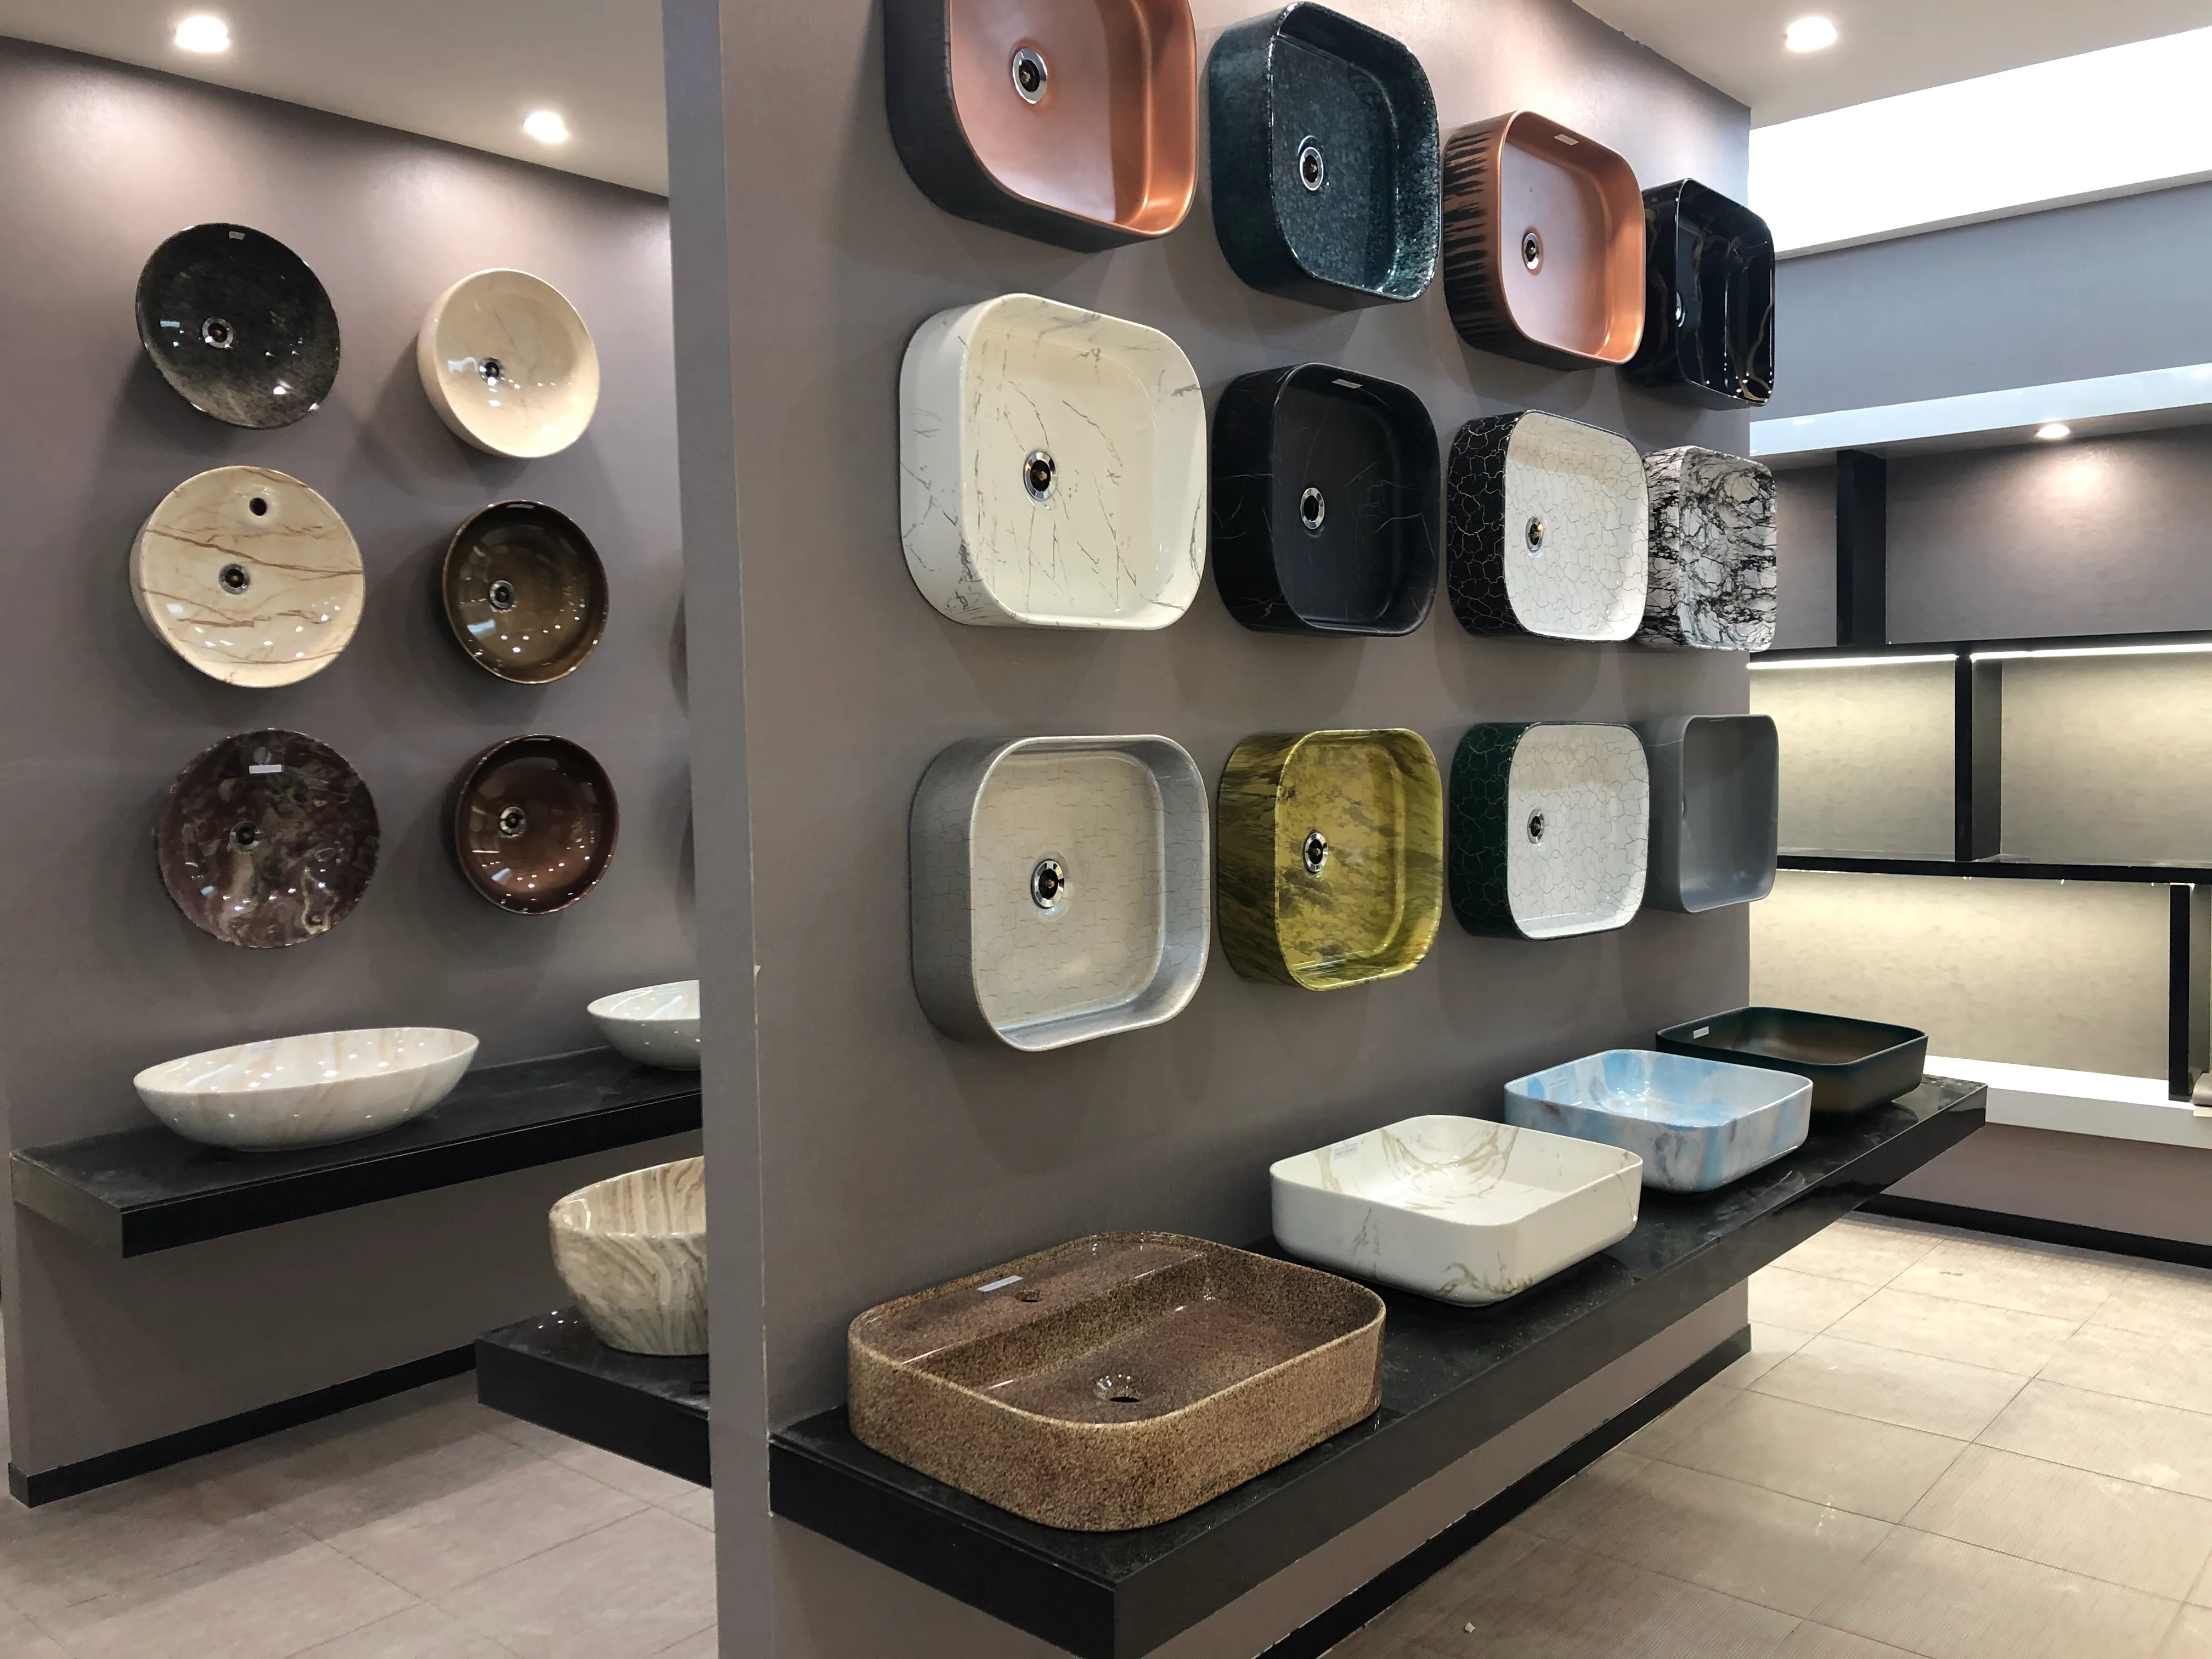
Undermount wash basin is a common design choice in modern bathrooms, which not only looks simple and elegant, but also seamlessly integrates with the vanity counter to make the entire bathroom look more neat and beautiful. Installing an undermount wash basin may seem complicated, but it can be done with ease as long as you follow the right steps. This article, هان يو will provide you with a detailed installation guide to help you smoothly install a practical and beautiful undermount wash basin.
Prepare for installation
Before starting the installation, you need to prepare the tools and materials and ensure that the installation environment is suitable.
Tools and materials required
- Undermount wash basin
- Spirit level
- Electric drill
- Silicone sealant
- Wrench
- Cutting tools (such as angle grinder or electric saw)
- Plumbing, hot and cold water pipes
Preparation work
- Choose the appropriate vanity counter material, such as quartz, granite, etc., and determine that the vanity counter can support the weight of the undermount wash basin.
- Check that the sewer pipe and water supply pipe under the table are arranged properly and ensure that the length of the water pipe is sufficient.
Installation procedure
Step 1: Measure and mark the location
First of all, we need to determine the installation position of the wash basin. Place the undermount wash basin in the desired position and use a spirit level to ensure its level. Mark the outline of the sink on the counter with a pencil. Mark the holes to be cut according to the dimensions in the instructions.
Step 2: Cut the mesa holes
According to the size of the undermount wash basin, start cutting holes in the countertop. Use an appropriate cutting tool, such as an angle grinder or chainsaw, to cut the table along the marked line. After cutting, smooth the edges with sandpaper to avoid unnecessary gaps during installation.
Step 3: Install the sewer system
Connect the sewer system before placing the undermount wash basin on the vanity counter. This reduces the difficulty of operation after installation. Connect the drainer to the sewer pipe, and ensure that the joint is protected by a gasket or sealant. When installing the drainage system, pay attention to the tightness and check whether the interfaces are tightly connected.
Step 4: Install the undermout wash basin
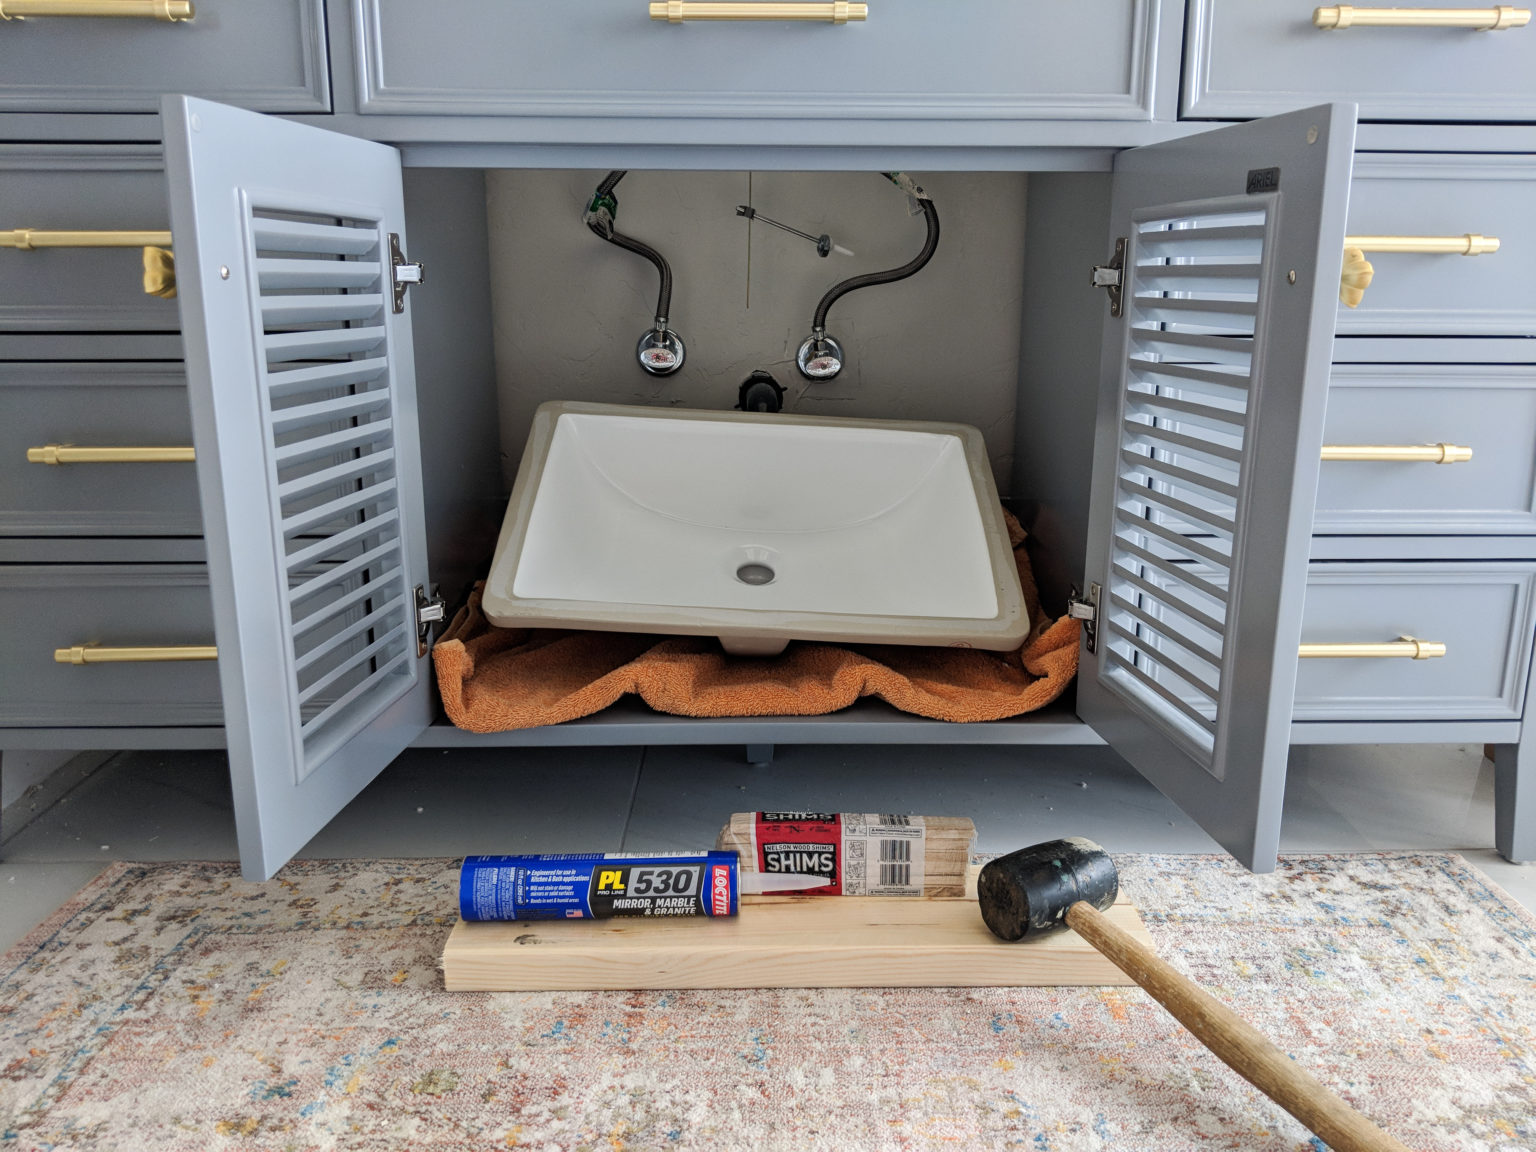
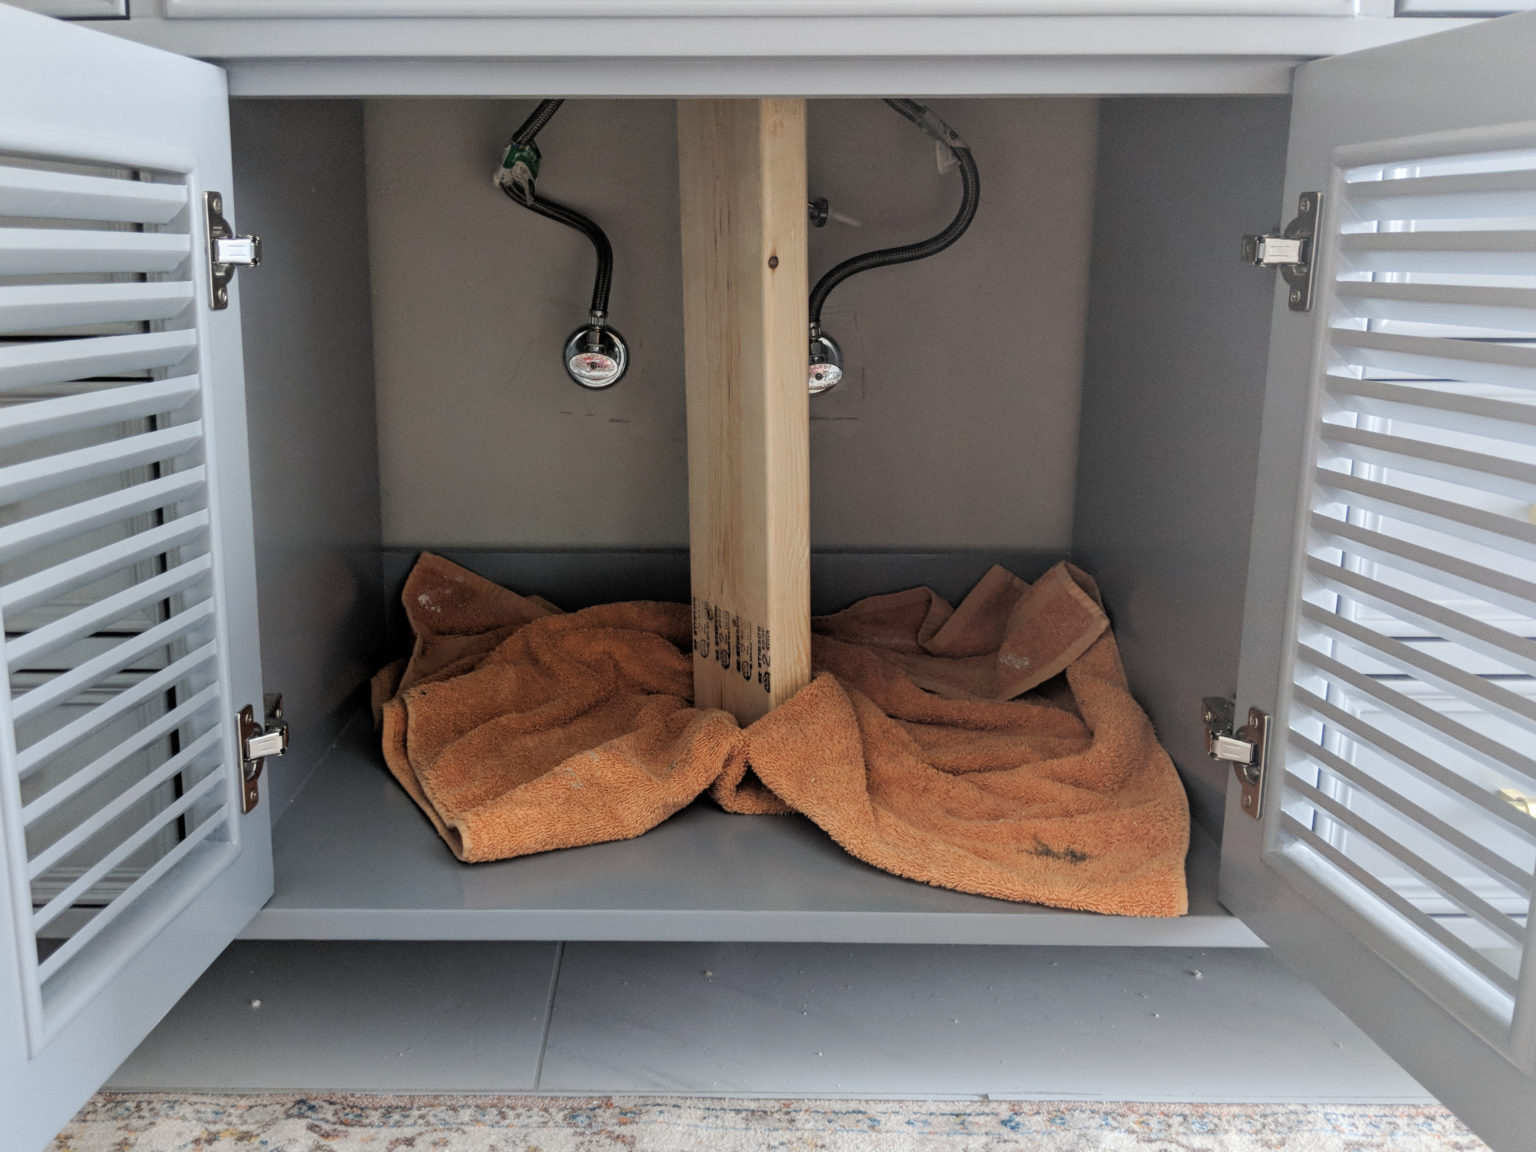
Place the undermount wash basin carefully into the cut hole, ensure it is placed correctly and secure with sealant. Apply a ring of silicone sealant to the edge of the countertop hole. Place the sink into the hole and gently compact it so that it fits the countertop tightly. Use a support or temporary holding tool to ensure that the sink remains stable during the sealant drying process.
Step 5: Connect water pipes
After installing the undermount wash basin, start connecting the hot and cold water pipes and faucets. Connect the hot and cold water pipe to the faucet and tighten the connection using a wrench. Turn on the water source, check for leaks, and adjust the faucet to ensure normal water flow.
Step 6: Finish and check
After installation, wait for the silicone sealant to dry completely, which usually takes 24 hours. Use the level again to check that the undermount wash basin is level. Check all pipe connections and sewer systems for leaks. Clean the edges of vanity counter and sinks to ensure no sealant remains.
These are the basic steps of the undermount wash basin installation. It should be noted that the installation process requires patience and care to ensure that each link is in place to avoid problems in subsequent use. If you are not familiar with the installation process or do not have the appropriate tools, it is recommended to contact a professional installation master for installation.
الخاتمة
As people’s quality of life is getting better and better, the quality of service in public places is also improving, ceramic undermount wash basins are no longer only used in their own residential toilets, but are widely used in high-speed rail stations, subway stations, hotel toilets, hospitals, shopping malls and other public toilets.
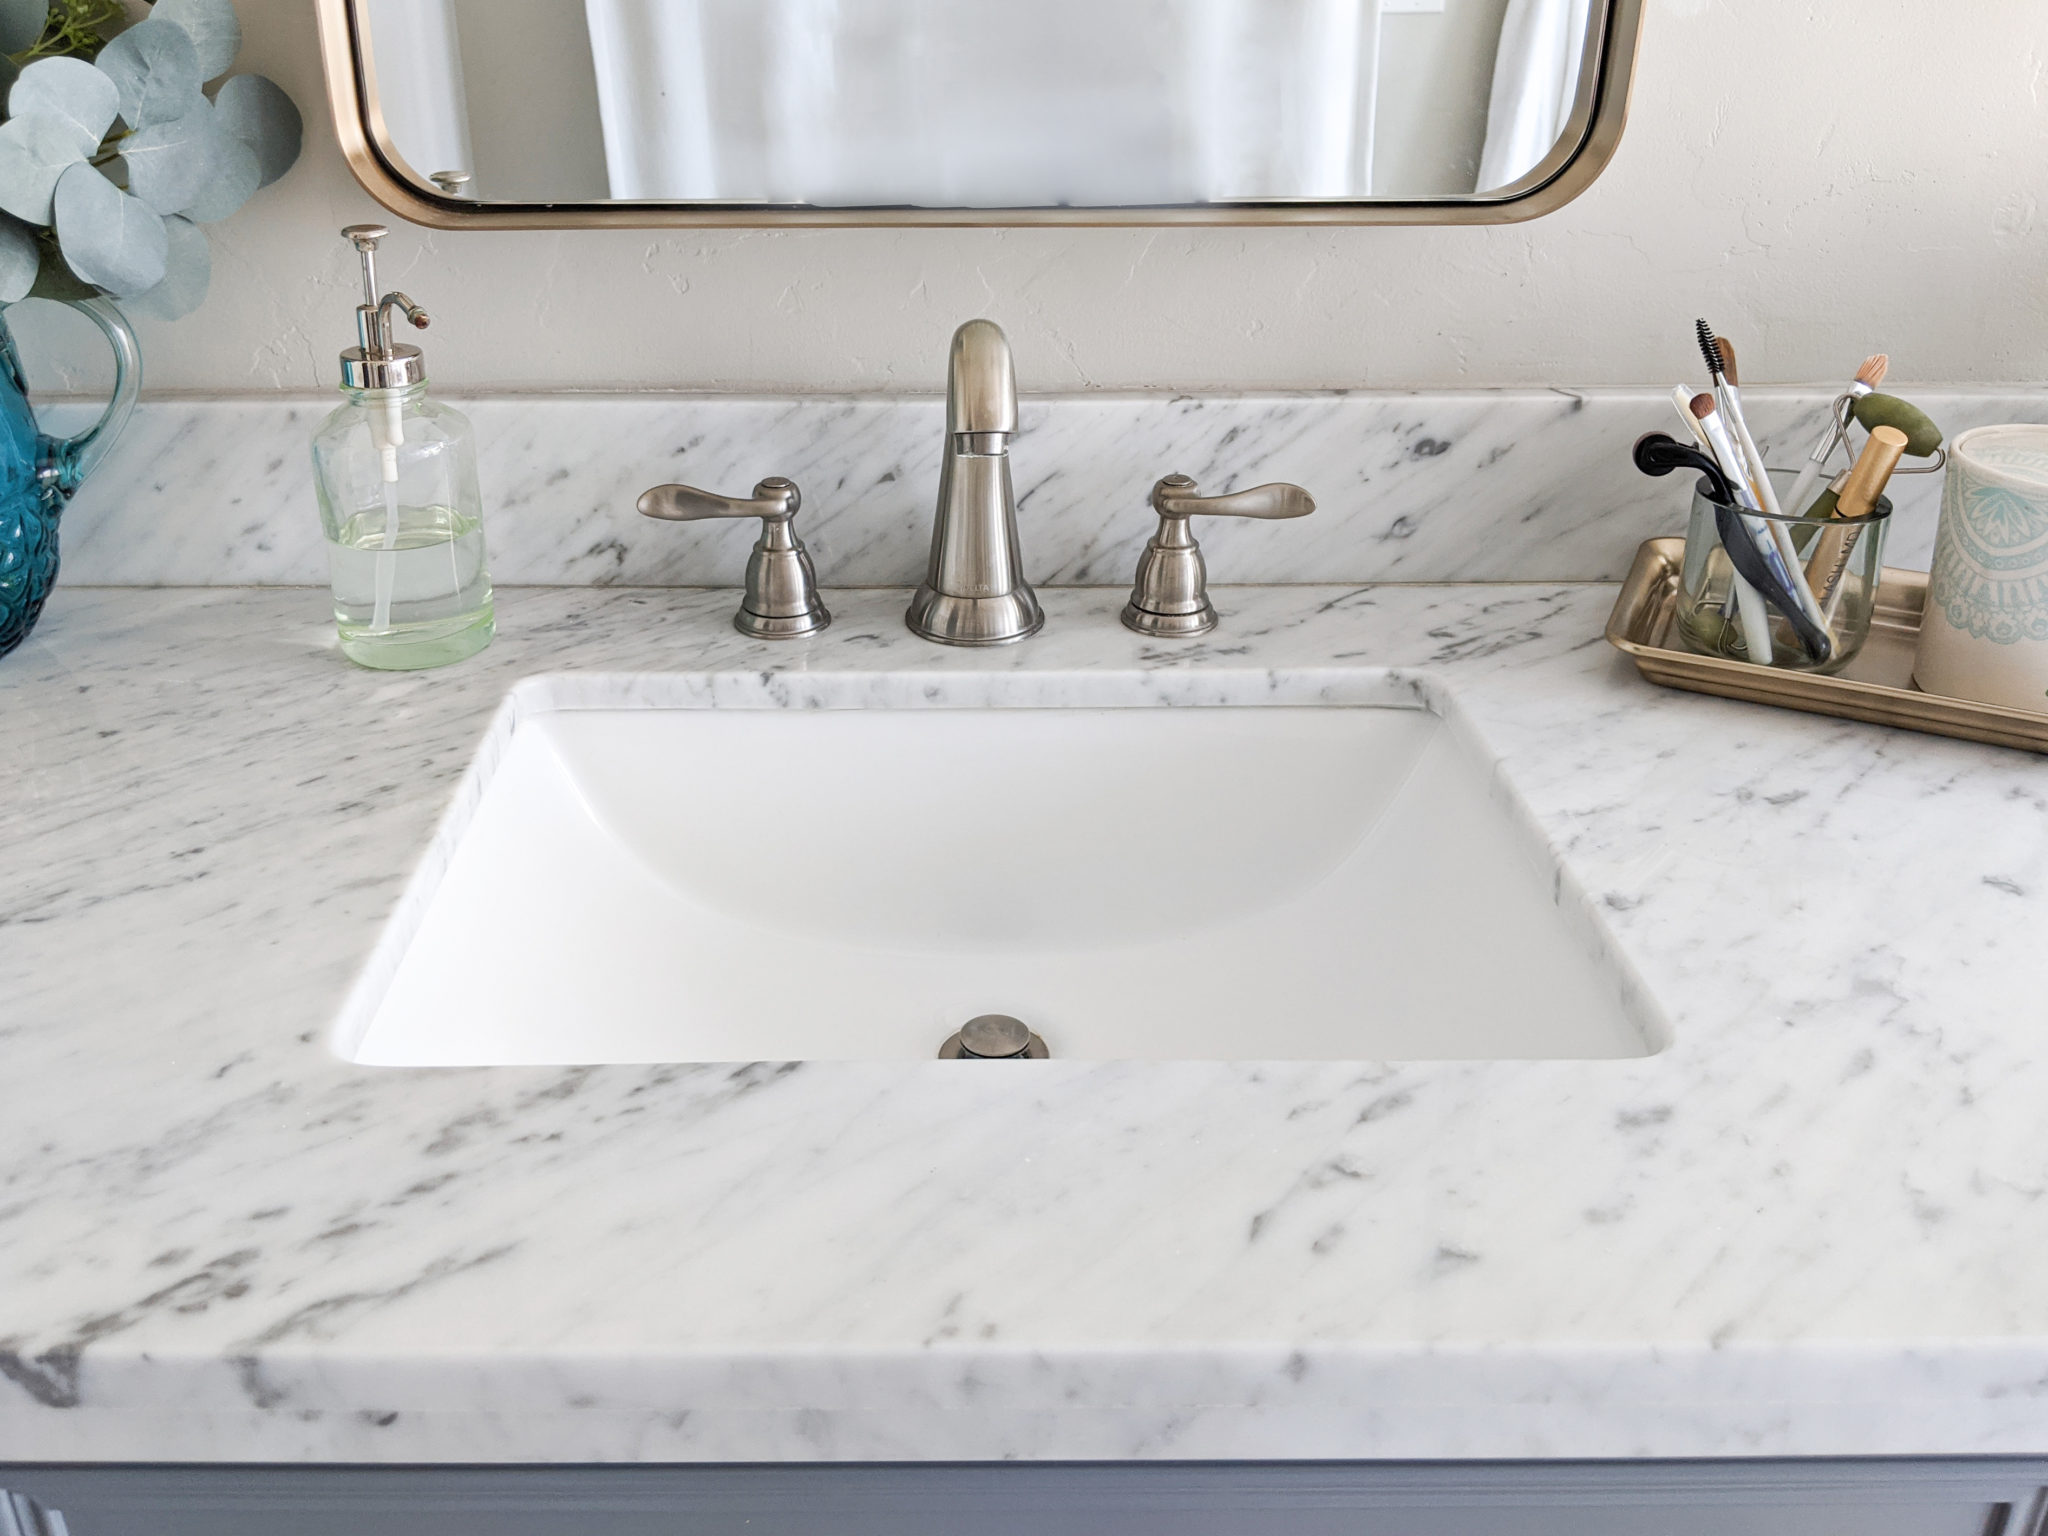
The undermount wash basin not only brings a clean and beautiful design to the bathroom, but also ensures its long-term use through reasonable installation steps. With the above installation steps, you can easily install the undermount wash basin. Although the installation process is relatively simple, if you are not familiar with the operation, it is recommended that a professional install it to ensure safety and quality.
HanYu — Professional wash basin manufacturer
هان يو هو professional ceramic wash basin manufacturer with many years of production experience. We focus on the production of high quality embedded wash basin, products are widely used in all kinds of decoration projects. Whether it is a home bathroom renovation or a commercial building project, we can provide customized solutions for our customers.
In addition, HanYu also works closely with many building materials distributors to supply various sizes and styles of wash basins on a wholesale basis, ensuring that the needs of different customers are met. We are always committed to providing quality products and services to help your project succeed.
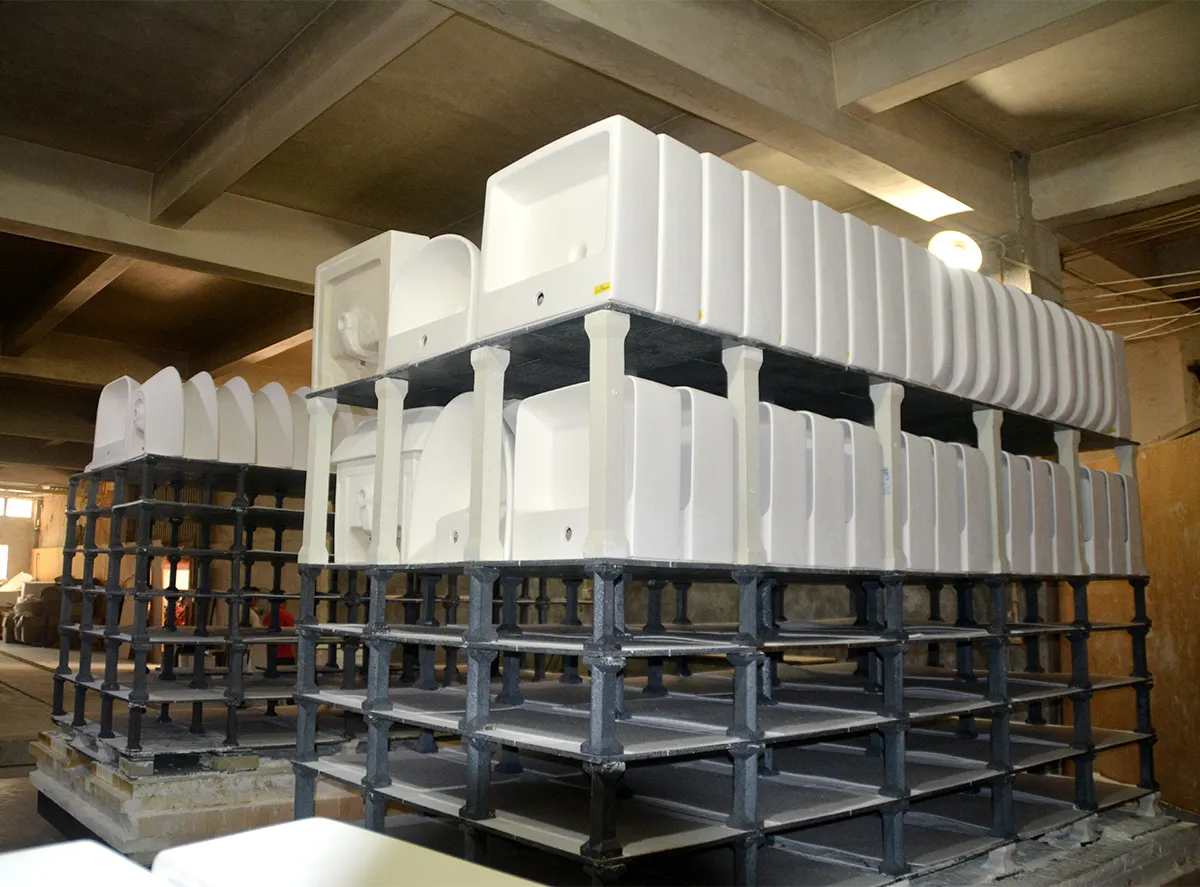
Our types of wholesale wash basins include wall hung basins, countertop basins, drop-in basins, undermount basins, and stand basins. There is also a wide variety of colors, you can do bright white, matte black, matte white, electric gold plating, silver plating, and marble color, currently, our marble color basin has a total of more than 110 patterns, and there is always a suitable one for you.
